| I find that
adjusting the 7 x metal lathe tailstock is a difficult task. It has a
socket head screw but
it needs to be accessed from the bottom to tighten the tailstock. I
recreated the mod by turning the screw with the head facing up so all
the tightening can be accessed
from top. |
|
|
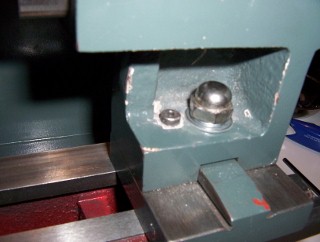
Now the MOD to change the screw can be accessed from top. The tailstock can be easily to be tighten after the alignment is done. |
| This
is a simple mod. First remove the tailstock from the lathe bed.
Then remove the tailstock nut and the socket head screw from the
bottom. The two pieces of the tailstock are now separated. Use a 3/16"
drill
bit to remove the thread and drill through the screw hole. Use a #10-32
x 1.5" socket head screw (low profile head is better) and a 0.425"
square nut. Put 2 or 3 washers to raise up the tailstock mounting nut because
the screw head
will interfere with the wrench. |
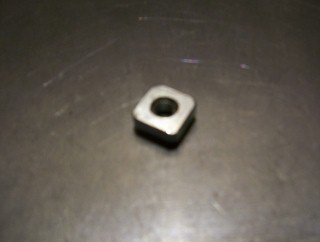 |
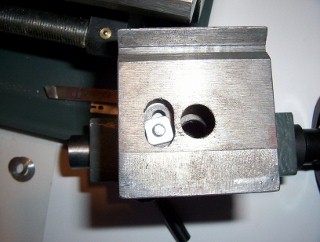
Use a 0.425" #10-32 square nut; it fits perfectly into the slot on the bottom oblong hole where the socket head screw is located. But the socket head screw comes with the lathe is metric. So replacing the screw with a #10-32 is best. |
|
|
Seen here, the square nut is sitting inside the oblong slot hole, which was originally the screw head. |
| To
align the tailstock, loosen the tailstock nut, loose the 2-set screws,
and loosen the socket head screw. The top part of tailstock should be
able to move front and back
freely. After the alignment is done,
tighten
the tailstock nut then tighten the socket head screw. |